 Pin it
 There's something about summer that demands corn on the cob—I learned this the hard way one July when my neighbor showed up at my door with an armful of ears from the farmer's market, insisting I had to try cooking them his way. That first bite, butter dripping down my chin while standing in the kitchen with golden kernels still steaming, felt like the simplest luxury. Now I can't imagine summer without that ritual of boiling or grilling corn until it's tender and bright, then loading it with butter and salt while it's still hot enough to melt everything into pure comfort.
I made this for a backyard dinner party last summer, and I remember standing at the grill with tongs in hand, rotating ears while my friend was telling some ridiculous story that made me laugh so hard I almost dropped one. Everyone gathered around the table making a mess of it, and nobody cared about napkins or manners—that's when I knew I'd done something right.
Ingredients
- Fresh corn on the cob: Four ears, husked and ready to go—the fresher the better, because you can taste the difference in every bite, and that natural sweetness is what makes this dish sing.
- Unsalted butter: Two tablespoons softened so it spreads easily while the corn is still hot enough to melt it into every kernel.
- Sea salt: One teaspoon, or more if you like—taste as you go because everyone's salt preference is different, and there's no shame in adjusting.
Tired of Takeout? 🥡
Get 10 meals you can make faster than delivery arrives. Seriously.
One email. No spam. Unsubscribe anytime.
Instructions
- Get your water ready:
- Fill a large pot with water and bring it to a rolling boil—you'll know it's ready when the water is moving and you can see steam rising steadily. The bigger the pot, the easier it is to get all the corn in without crowding.
- Cook the corn (boiling method):
- Drop the husked ears into the boiling water and let them cook for 5 to 7 minutes—watch for the kernels to turn bright yellow and feel tender when you press one gently with a fork. If you're grilling instead, brush the corn lightly with oil, set it on a medium-high grill, and turn it occasionally until it's slightly charred and cooked through, about 10 to 12 minutes.
- Get them out and dry them off:
- Use tongs to pull the corn from the pot or grill and set them on a clean towel for a moment—this helps any extra water evaporate so the butter doesn't slide off. Don't let them sit too long or they'll lose the heat you need to melt the butter properly.
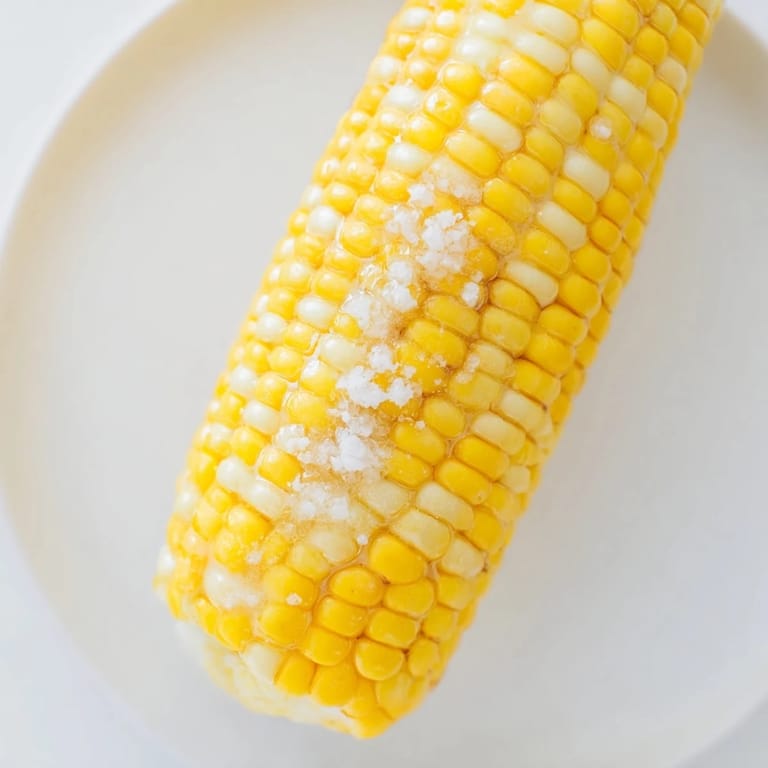
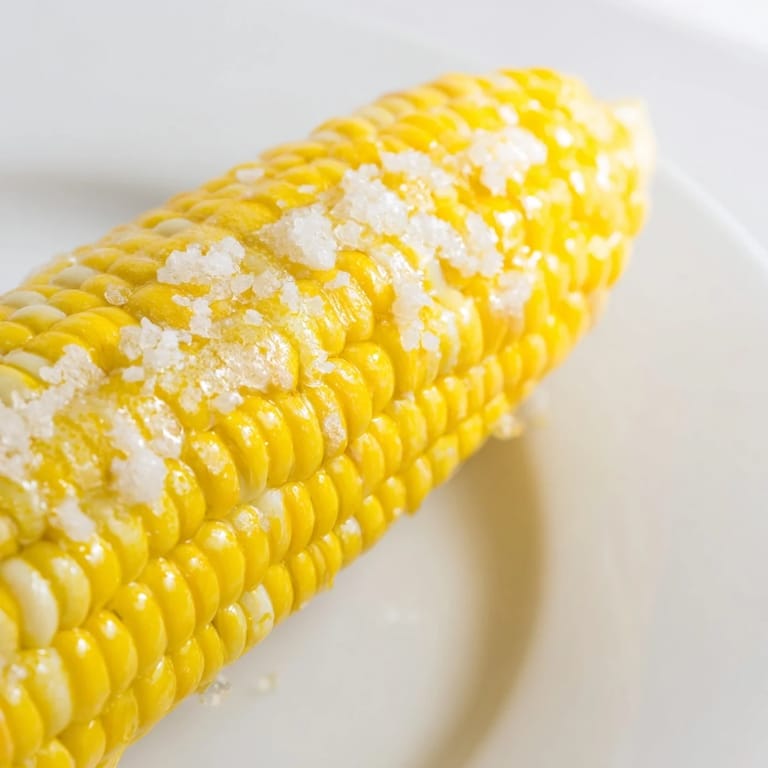
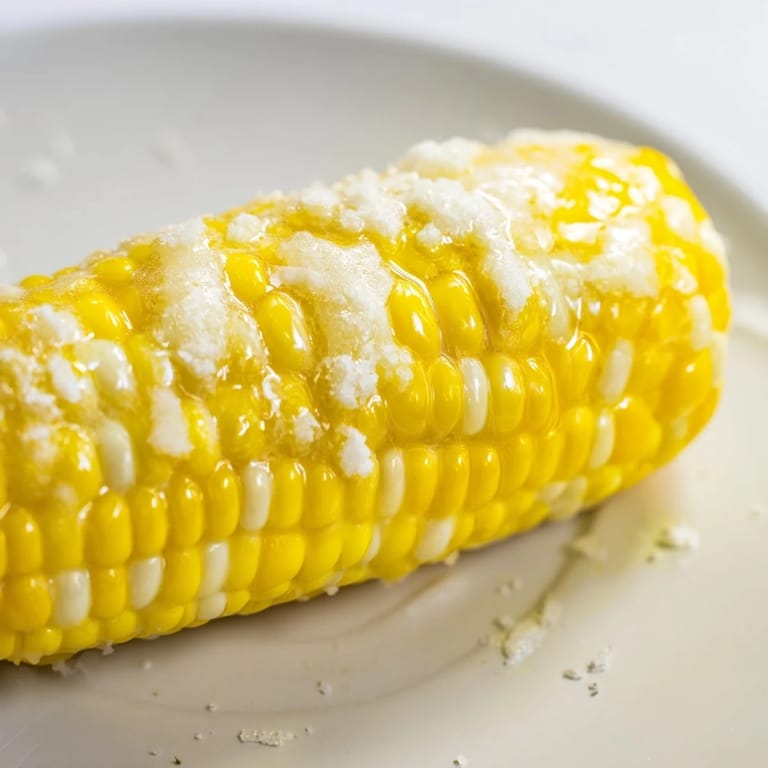
- Butter and season while hot:
- Immediately spread soft butter over each ear while it's still steaming, so it melts into every crevice instead of sitting on top. Sprinkle salt over everything and taste before deciding if you need more.
- Serve it warm:
- Get the corn to the table as soon as it's ready, because corn is honestly best eaten while it's still hot enough to feel luxurious.
 Pin it
 I realized this dish meant something different to me when my niece asked if we could make it again, and it wasn't the corn itself she remembered—it was the moment we all stood together at the kitchen counter, laughing and eating. That's when simple food becomes memory.
Boiling vs. Grilling: Which Method to Choose
Boiling gives you that classic bright yellow corn with perfectly tender kernels and a clean, sweet flavor—it's fast and foolproof, which is why I reach for it most weeknights. Grilling adds a slight char and a deeper, smokier sweetness that feels fancier somehow, and the kernels get a little caramelized on the edges. Both are delicious, so pick whichever matches your mood or what you've got available.
Flavor Variations That Surprised Me
The moment I started experimenting beyond plain butter and salt, everything changed. A sprinkle of smoked paprika adds a gentle warmth that nobody expects, grated Parmesan gets nutty and crispy in places, and fresh herbs like cilantro or basil bring brightness that cuts through the richness. For something spicier, lime wedges and chili powder make it feel like a completely different dish—Mexican street corn energy but simpler, which is somehow even better.
Keeping It Warm and Other Practical Moments
If you're cooking for a crowd and worried about corn getting cold between batches, wrap each ear loosely in foil after cooking—it holds the heat and keeps everything soft and buttery until everyone's ready to eat. I learned this the hard way after making corn for eight people and by the time I got to the last ear I cooked, the first ones were already getting tough.
- Check that butter is soft enough to spread before you start cooking, so you're not wrestling with cold hard butter when the corn is hot and ready.
- Pat the corn dry after cooking if you boiled it, because excess water can make the butter slide off instead of melting in.
- Taste the salt as you go—fresh corn is already sweet, so you don't need much, just enough to make that sweetness pop.
 Pin it
 This recipe taught me that the best food doesn't have to be complicated—sometimes it's just about starting with something good and not messing it up. Corn on the cob is proof that simple done right beats fancy done wrong every single time.
Recipe FAQ
- → How can I tell when the corn is cooked?
Corn is ready when the kernels turn bright yellow and feel tender when pierced with a fork, typically after 5–7 minutes boiling or 10–12 minutes grilling.
- → What’s the best way to add extra flavor to corn on the cob?
Try sprinkling smoked paprika, grated cheese, or fresh herbs over the buttered corn for enhanced flavor.
- → Can I grill corn instead of boiling it?
Yes, grilling over medium-high heat caramelizes the corn's natural sugars and adds a smoky char for a delicious variation.
- → How do I keep corn warm after cooking?
Wrap the cooked corn in foil to retain warmth before serving.
- → Is there a way to make this dairy-free?
Substitute unsalted butter with plant-based alternatives to keep it dairy-free without sacrificing taste.