 Pin it
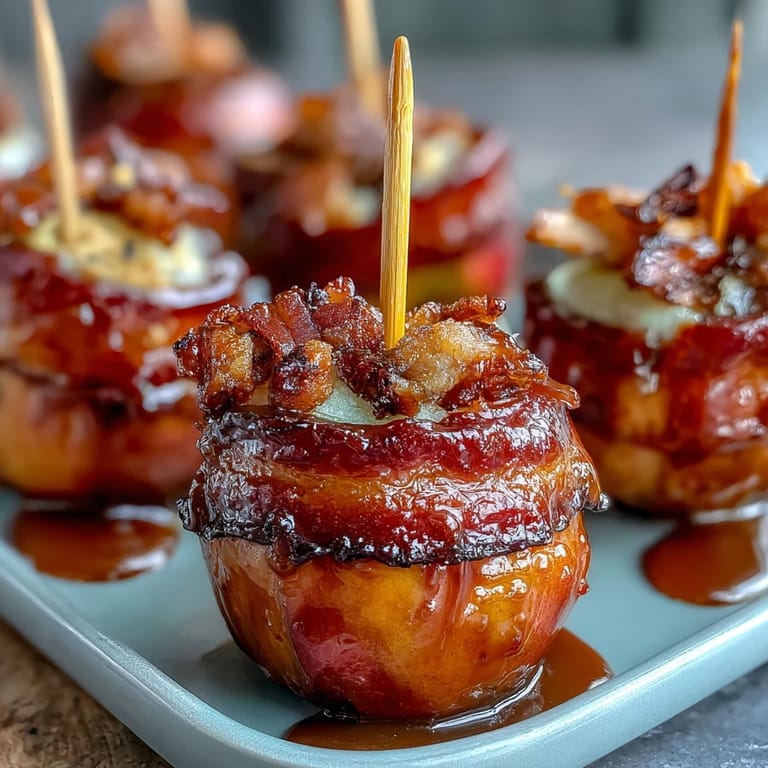
 My sister texted me a photo of candy apples at a fall festival, and I couldn't stop thinking about them for days. The problem was her kids wouldn't sit still long enough to enjoy a full-sized one, so I started experimenting with bite-sized versions on toothpicks instead. That first batch turned out glossy and perfect, and watching my nephew pop three in a row made me realize I'd accidentally created something even better than the original.
I brought these to a holiday potluck last December, and they were gone before I could even set down the serving platter. Someone's aunt actually asked if I made them commercially, which felt like winning an invisible ribbon. The best part was overhearing people comparing them to carnival candy while genuine affection crept into my chest.
Ingredients
- 2 large crisp apples (Granny Smith or Fuji): The tartness cuts through the sweetness beautifully, and firm varieties hold their shape better than softer ones when you bite into them.
- 1 cup granulated sugar: This is the foundation of your glassy coating, and using fresh sugar makes a real difference in the final shine.
- 1/3 cup light corn syrup: This keeps the candy from crystallizing and gives it that professional glossy finish you see in candy shops.
- 1/4 cup water: Too much and your coating stays sticky; too little and it seizes up fast, so measure carefully.
- 1/4 teaspoon red food coloring: Add it after the mixture cools slightly so it doesn't burn and lose its vibrancy.
- Nonstick cooking spray and parchment paper: This prevents sticking and makes cleanup feel like a gift to your future self.
- Optional toppings (nuts, chocolate chips, or sprinkles): Work fast after dipping because the coating hardens within seconds, so prep these before you start.
Tired of Takeout? 🥡
Get 10 meals you can make faster than delivery arrives. Seriously.
One email. No spam. Unsubscribe anytime.
Instructions
- Set up your dipping station:
- Line a tray with parchment paper and lightly spray it with nonstick spray so nothing sticks and your future self stays happy. Have all your toppings ready in small bowls because once that candy is mixed, you're working against the clock.
- Prepare the apples:
- Core your apples and cut them into generous 1-inch chunks, then pat them completely dry with paper towels because even a whisper of moisture will make the coating slide right off. This step feels tedious, but it's the actual difference between success and disappointment.
- Anchor your bites:
- Push a toothpick firmly into each apple chunk and arrange them on a clean plate within arm's reach of your stove. This feels like you're setting up for surgery, which somehow makes the whole process feel more intentional.
- Cook the candy coating:
- Combine sugar, corn syrup, and water in a small saucepan and stir until the sugar dissolves, then stop stirring completely and let it boil undisturbed over medium-high heat. You'll watch it transform from cloudy to clear and finally to a pale amber color as it reaches 300°F on your candy thermometer (about 7 to 8 minutes), and this is where patience actually pays off.
- Add the color:
- Once you remove the pan from heat, let it cool for just 30 seconds, then stir in your food coloring quickly so it disperses evenly without darkening. The mixture will smell almost like burnt sugar now, which sounds scary but is actually exactly right.
- Dip with confidence:
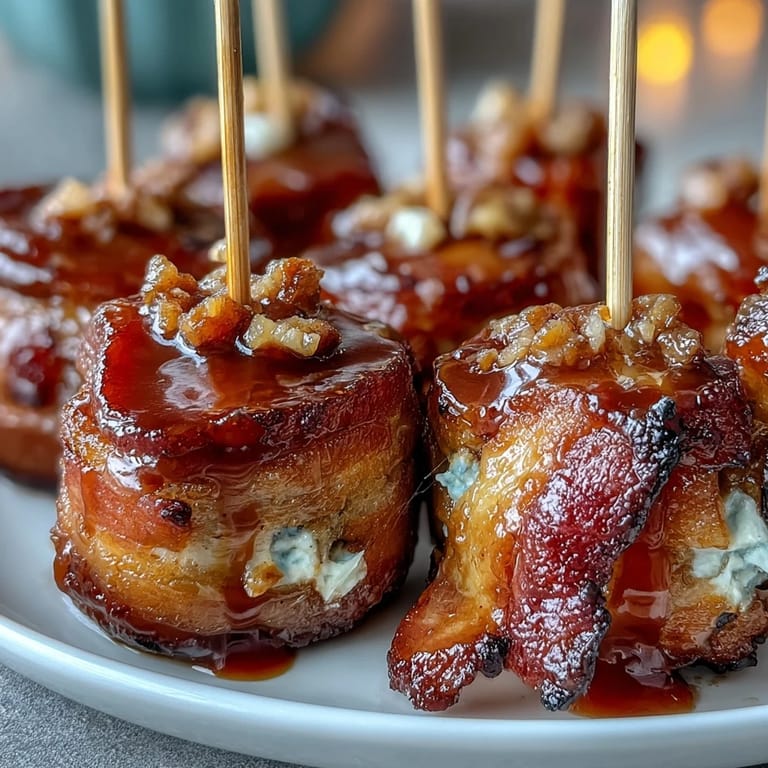
- Working quickly because this coating hardens fast, grasp each toothpick and swirl the apple chunk into the hot candy, letting the excess drip back into the pan for a few seconds. The coating should look glossy and even, like it was professionally dipped at a fair.
- Decorate immediately:
- If you want toppings, sprinkle them on right after dipping while the coating is still slightly tacky and willing to hold them. Any hesitation and they'll roll right off, so commit to this step.
- Cool completely:
- Let everything sit at room temperature for at least 30 minutes until the coating is hard and snappy to the bite. Resist the urge to speed this up in the fridge because temperature changes can make the coating cloudy or tacky.
 Pin it
 Last summer, my neighbor asked if I could make a batch for her daughter's birthday party, and I watched a room full of seven-year-olds freeze mid-conversation when they bit into one. There was this moment of pure discovery on their faces, like they'd just understood what joy tastes like, and I realized food really is one of the few languages everyone speaks.
The Apple Choice Matters More Than You'd Think
Granny Smith apples deliver a sharp, bright tartness that feels sophisticated against the candy sweetness, while Fuji apples lean sweeter and more forgiving. I've tried everything from honeycrisps to pink ladies, and the crisp varieties always hold up better during dipping because softer apples release moisture right when you don't want them to. If you're making these in spring when fresh apples are harder to find, go for whatever's firmest and crisp, not the soft ones that give when you press them.
Temperature is Everything in Candy Making
That 300°F hard crack stage isn't just a number, it's the exact point where your mixture transforms from soft and chewy to crisp and snappy. Going even 5 degrees too far and it turns brittle; 10 degrees too short and it stays gummy inside the coating. I learned this the hard way by making batches without a thermometer, thinking I could eyeball it, and ended up with candy that felt like dentist-office taffy.
Make Ahead and Storage Secrets
These actually keep beautifully in an airtight container at room temperature for up to three days, which means you can prep them the morning of a party and not stress. I once made a double batch on a rainy Tuesday just to have them around, and my coffee breaks got exponentially more pleasant. Store them separately from other desserts because candy coating can attract moisture from surrounding foods and lose its snap.
- Keep them in an airtight container away from humidity, or the coating will start to sweat and feel sticky within hours.
- Never refrigerate them because temperature changes cause the coating to develop a cloudy, dull finish that breaks your heart.
- If you're shipping them or taking them places, wrap each one loosely in tissue paper so they don't stick together.
 Pin it
 These little bites somehow turned into my signature thing at gatherings, which still surprises me given how simple they are. There's something about food you make with your own hands that just hits differently, especially when it brings people together for one happy moment.
Recipe FAQ
- → How do I ensure the candy coating sticks properly?
Make sure apple pieces are thoroughly dried before dipping to help the candy adhere better and prevent slipping.
- → Can I use different types of apples?
Yes, firmer apple varieties like Granny Smith or Fuji work best to hold the coating and provide a crisp bite.
- → Is there a way to know when the candy mixture is ready?
Boil the sugar mixture until it reaches the hard crack stage, around 300°F, for a glossy and firm coating.
- → What toppings can I add before the coating hardens?
Try chopped nuts, mini chocolate chips, or colorful sprinkles to add texture and visual appeal.
- → How should I store the coated apple bites after preparation?
Keep them at room temperature on parchment paper until fully hardened. Consume soon after for best freshness.