 Pin it
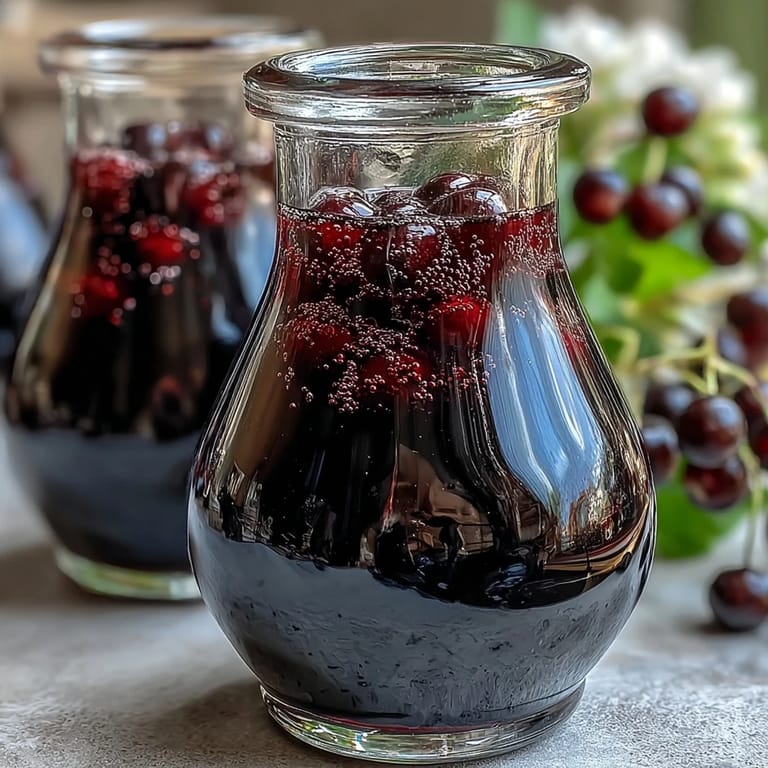
 The summer my friend Sarah inherited her grandmother's country cottage, we found ourselves knee-deep in blackcurrant bushes that had gone wild. Neither of us knew what to do with pounds of tart, jewel-dark berries, so we started experimenting. That first batch of blackcurrant vodka turned into a yearly tradition, and now the arrival of blackcurrant season feels incomplete without the ritual of washing jars and measuring sugar.
I remember bringing a bottle to a winter dinner party during the first year we started making this. Our host had forgotten to buy dessert, and I casually mentioned I had something special in my bag. The room went quiet when I poured it into small glasses, that deep crimson liquid catching the candlelight. Someone asked if they could buy a bottle, and I had to explain it was just fruit, vodka, and time doing all the work.
Ingredients
- Fresh or frozen blackcurrants: These little berries pack an enormous amount of flavor and natural pectin, which gives the liqueur a gorgeous silky body. Fresh is ideal but frozen works perfectly if picked at peak ripeness.
- Neutral vodka: Theres no need to reach for the most expensive bottle, but avoid the bottom shelf, you want something clean that wont interfere with the berries natural perfume.
- Granulated sugar: This balances the fierce tartness of blackcurrants, but the amount is entirely up to your taste and the sweetness of your particular berries.
Tired of Takeout? 🥡
Get 10 meals you can make faster than delivery arrives. Seriously.
One email. No spam. Unsubscribe anytime.
Instructions
- Prepare the berries:
- Give the blackcurrants a thorough wash, pull off any stems or leaves, and pat them completely dry. Any water left on the berries will dilute your final liqueur.
- Layer the jar:
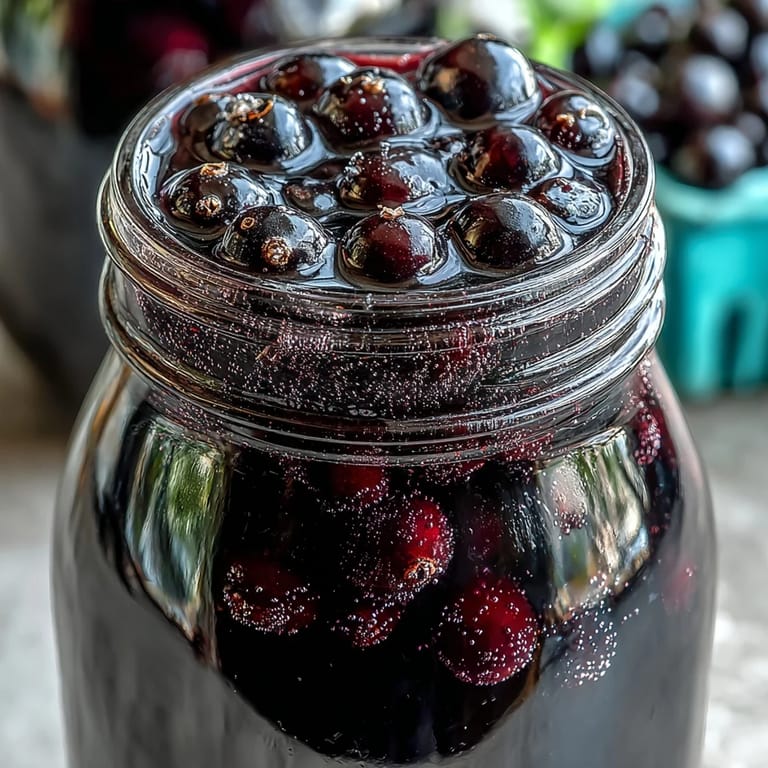
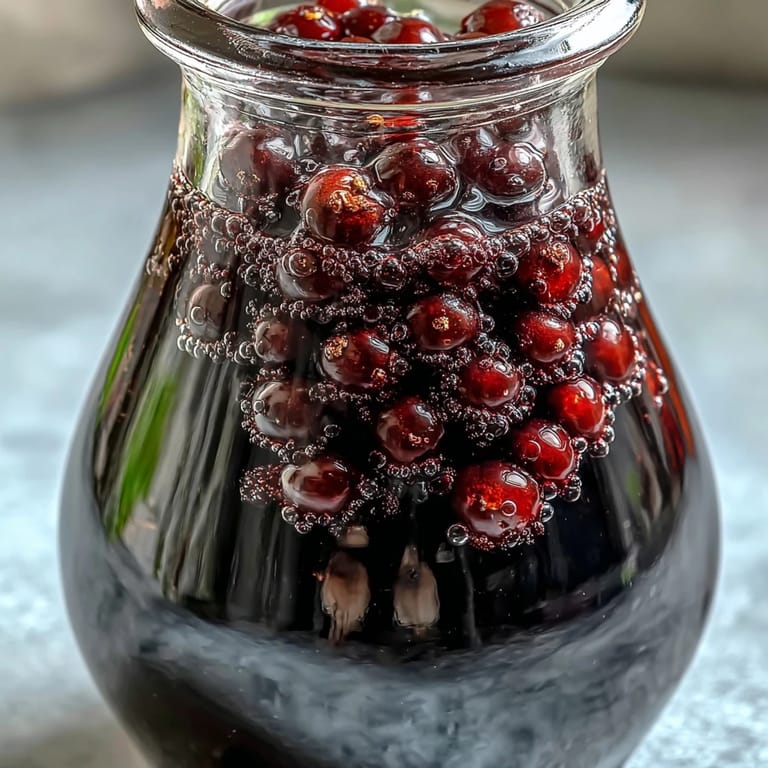
- Pack the berries into a sterilized jar, scatter the sugar over them, then pour in enough vodka to submerge everything completely.
- The waiting game:
- Seal the jar tight, give it a gentle shake to dissolve some sugar, then tuck it away somewhere cool and dark. Shake every few days and taste after three weeks to see if the flavor has reached its peak.
- Strain and bottle:
- Pour everything through a fine sieve or muslin cloth until the liquid runs clear. Funnel into clean bottles and let it rest for another few weeks before opening.
 Pin it
 Last Christmas, I gave small bottles to neighbors and received the most thoughtful messages in return. One couple told me they opened theirs on New Year's Eve and spent the whole evening sipping it slowly, trying to pinpoint what made it taste so special. Thats the thing about homemade liqueurs, they carry a story that storebought versions simply cannot replicate.
Patience Pays Off
The hardest part of this recipe is not touching it for weeks. I keep my jar on the top shelf of the pantry, where I cannot see it every day, and set a reminder on my phone to give it a shake twice a week. Out of sight, out of mind, until the day arrives to taste the transformation.
Flavor Variations
Sometimes I tuck a strip of lemon zest into the jar before sealing, or split a vanilla bean and let it infuse alongside the berries. Both additions add layers of complexity without overpowering the main event. Just remember that anything you add will only intensify over time.
Serving Suggestions
This liqueur deserves to be savored slowly, poured into small glasses and served chilled after a meal. It also adds sophistication to simple champagne cocktails or drizzled over vanilla ice cream. The color alone makes anything you serve it in look like a special occasion.
- Store bottles horizontally if sealed with natural cork to keep the cork moist
- Label your bottles with the date, because months from now you will forget when you made them
- Once opened, keep it in the fridge and it will be good for at least a year
 Pin it
 There is something deeply satisfying about making something that improves with time in a world that moves so fast. Pour a glass, share it with someone you care about, and toast to the sweet art of waiting.
Recipe FAQ
- → How long does blackcurrant vodka need to infuse?
The infusion process takes 3 to 6 weeks depending on your preferred strength. Start tasting after 3 weeks and continue infusing until the flavor reaches your desired intensity. For best results, let the strained liqueur mature an additional 2 to 4 weeks before serving.
- → Can I use frozen blackcurrants instead of fresh?
Absolutely. Frozen blackcurrants work just as well as fresh and may even release their juices more readily during infusion. Thaw them slightly and pat dry before adding to the jar. The flavor difference will be minimal in the finished liqueur.
- → What type of vodka should I use?
A quality neutral vodka works best since it allows the blackcurrant flavor to shine. You don't need an expensive premium brand, but avoid the cheapest options which may have harsh aftertastes. Standard mid-range vodka produces excellent results.
- → How should I store the finished liqueur?
Store your bottled blackcurrant vodka in a cool, dark place away from direct sunlight. A cupboard or pantry works perfectly. Properly stored, it will keep for up to a year. Once opened, refrigeration isn't necessary but can help maintain optimal flavor.
- → Can I adjust the sweetness level?
Yes. Start with 250 grams of sugar and taste after 3 weeks of infusion. If it's too tart, add another 50 to 100 grams and shake gently until dissolved. For a drier finish, reduce the initial amount to 200 grams. The key is adjusting to your personal preference.